第五章
🚀 Understanding Astro
🚀 了解Astro
By Ohans Emmanuel 作者:Ohans Emmanuel
Chapter 5: Oh my React!
第五章:我的反应!
Everything you need to know to develop rich content websites with real-world best practices. This is a practical section best served with you coding along.
您需要知道的一切,以开发具有真实世界最佳实践的丰富内容网站。这是一个实用的部分,最好与您沿着编写代码。
What you’ll learn 您将学到的内容
- Styling Astro projects with Tailwind.
与Tailwind一起设计Astro项目。 - Several syntax highlighting solutions for Astro.
Astro的几种语法高亮解决方案。 - Leveraging content collections for scalable and type-safe development.
利用内容集合进行可伸缩和类型安全的开发。 - Understand dynamic routing in Astro.
了解Astro中的动态路由。
Set up the starter project
设置启动器项目
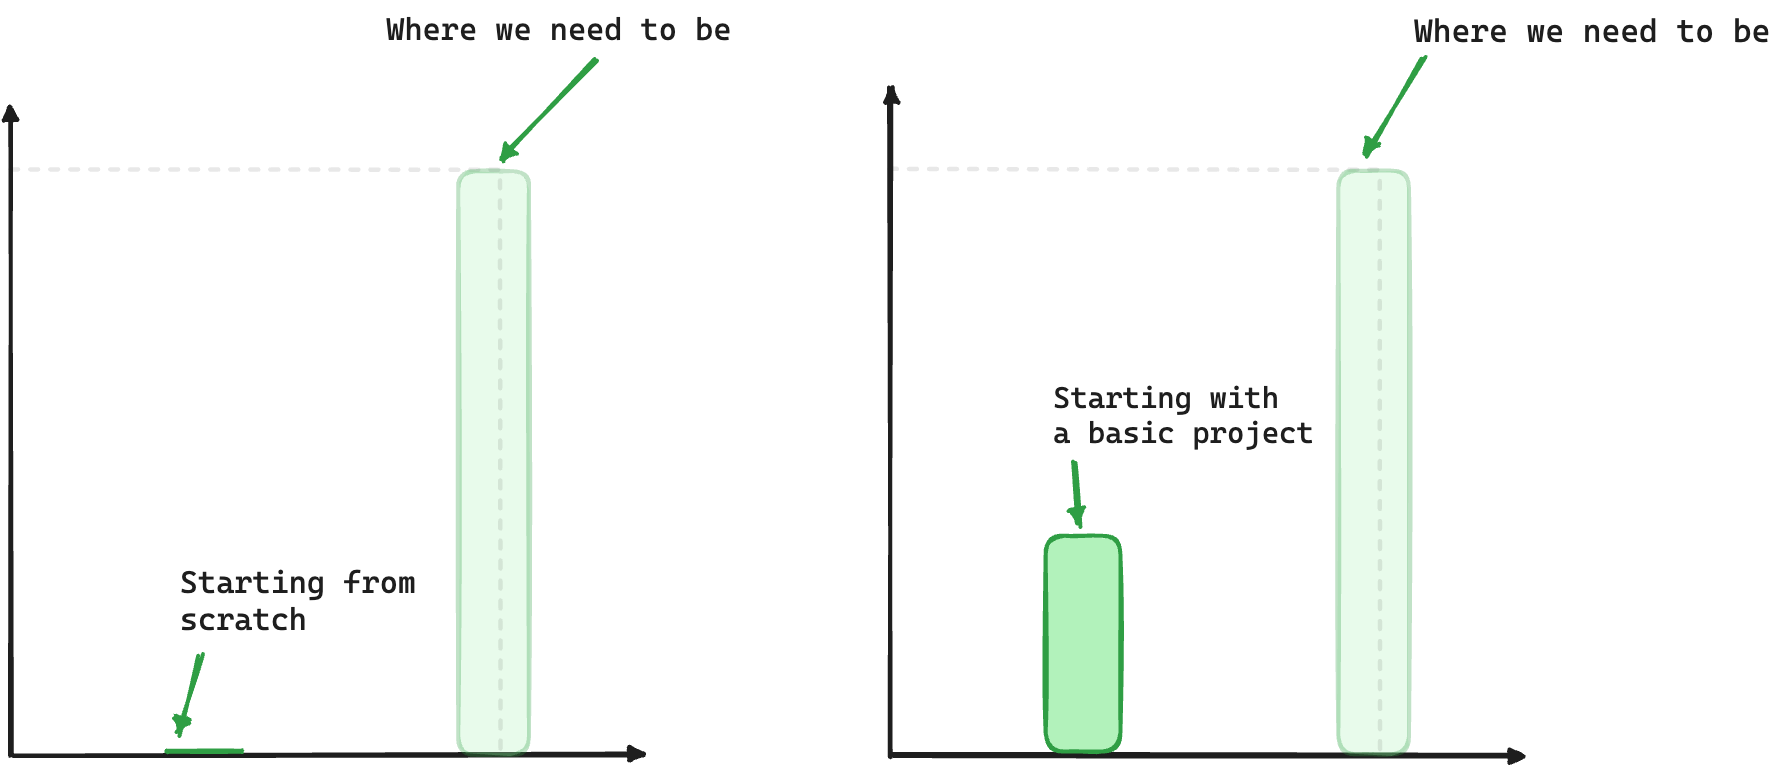
We’ve spent ample time learning the ins and outs of building static websites with Astro. So, in this chapter, we will not start from scratch.
我们已经花了大量的时间来学习如何使用Astro构建静态网站。因此,在本章中,我们不会从头开始。
Instead, we’ll begin with a basic static project we’ll build upon throughout the chapter.
相反,我们将从一个基本的静态项目开始,我们将在整个章节中建立。
Building from a starter project.
从启动项目生成。
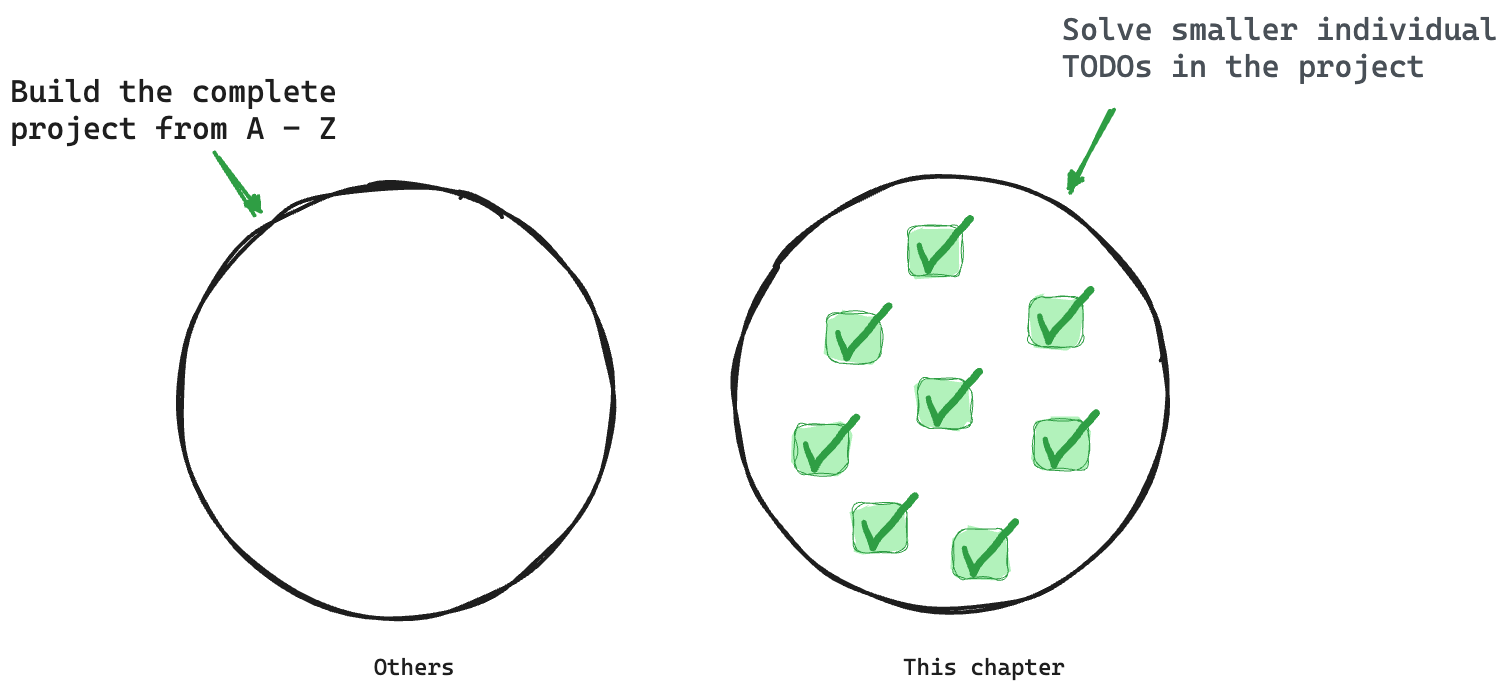
In this chapter, we will adopt a solution-oriented approach similar to that of detectives. We aim to solve various TODOs scattered throughout the starter project.
在这一章中,我们将采用一种类似于侦探的以解决方案为导向的方法。我们的目标是解决分散在整个启动项目中的各种 TODOs 。
Solving small isolated problems.
解决孤立的小问题。
The reason for this is to ignore already learned concepts and focus on learning new concepts or consolidating older concepts via practice — solving isolated problems.
这样做的原因是忽略已经学过的概念,而专注于学习新概念或通过实践解决孤立的问题来巩固旧概念。
To get started, go ahead and clone the project:
要开始,请继续克隆项目:
git clone https://github.com/understanding-astro/react.dev-astro.git
Then change directories:
然后更改目录:
cd react.dev-astro
Finally, checkout to the clean-slate branch I’ve prepared so we can systematically build upon the base application.
最后,签出到我准备好的 clean-slate 分支,这样我们就可以系统地构建基本应用程序。
git checkout clean-slate
Installing dependencies 正在安装依赖项
Go ahead and install the project’s dependencies via the following:
继续并通过以下方式安装项目的依赖项:
npm install
Then install the Astro react integration:
然后安装Astro react 集成:
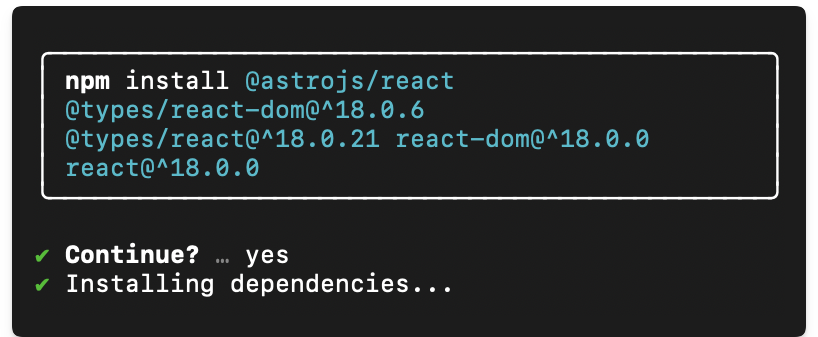
npx astro add react
When prompted, type “y” to accept each prompt. “y” means “yes”!
出现提示时,键入“y”以接受每个提示。“y”表示“是”!
The complete installation will add all relevant react dependencies and updates the astro.config.mjs project configuration file.
完整的安装将添加所有相关的react依赖项并更新 astro.config.mjs 项目配置文件。
Installing the React integration and dependencies.
安装React集成和依赖项。
Finally, go ahead and install the mdx integration. I’ll describe the what and why later in the chapter. For now, go ahead and install the integration by running the following:
最后,继续安装 mdx 集成。我将在本章的后面描述是什么和为什么。现在,通过运行以下命令继续安装集成:
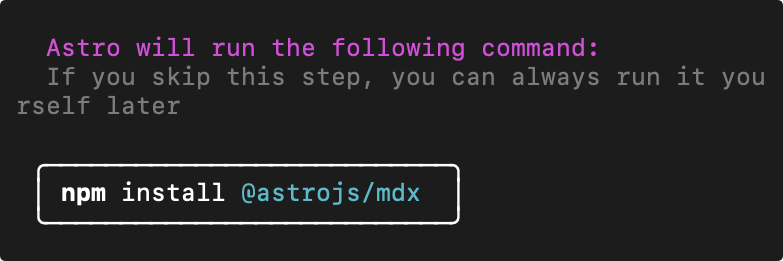
npx astro add mdx
This will install the @astrojs/mdx integration and also update the astro.config.mjs project configuration file.
这将安装 @astrojs/mdx 集成并更新 astro.config.mjs 项目配置文件。
Installing the MDX integration.
安装MDX集成。
Now run the application:
现在运行应用程序:
npm start
This will run the application in an available local port e.g., the default localhost:3000.
这将在可用的本地端口中运行应用程序,默认值 localhost:3000 。
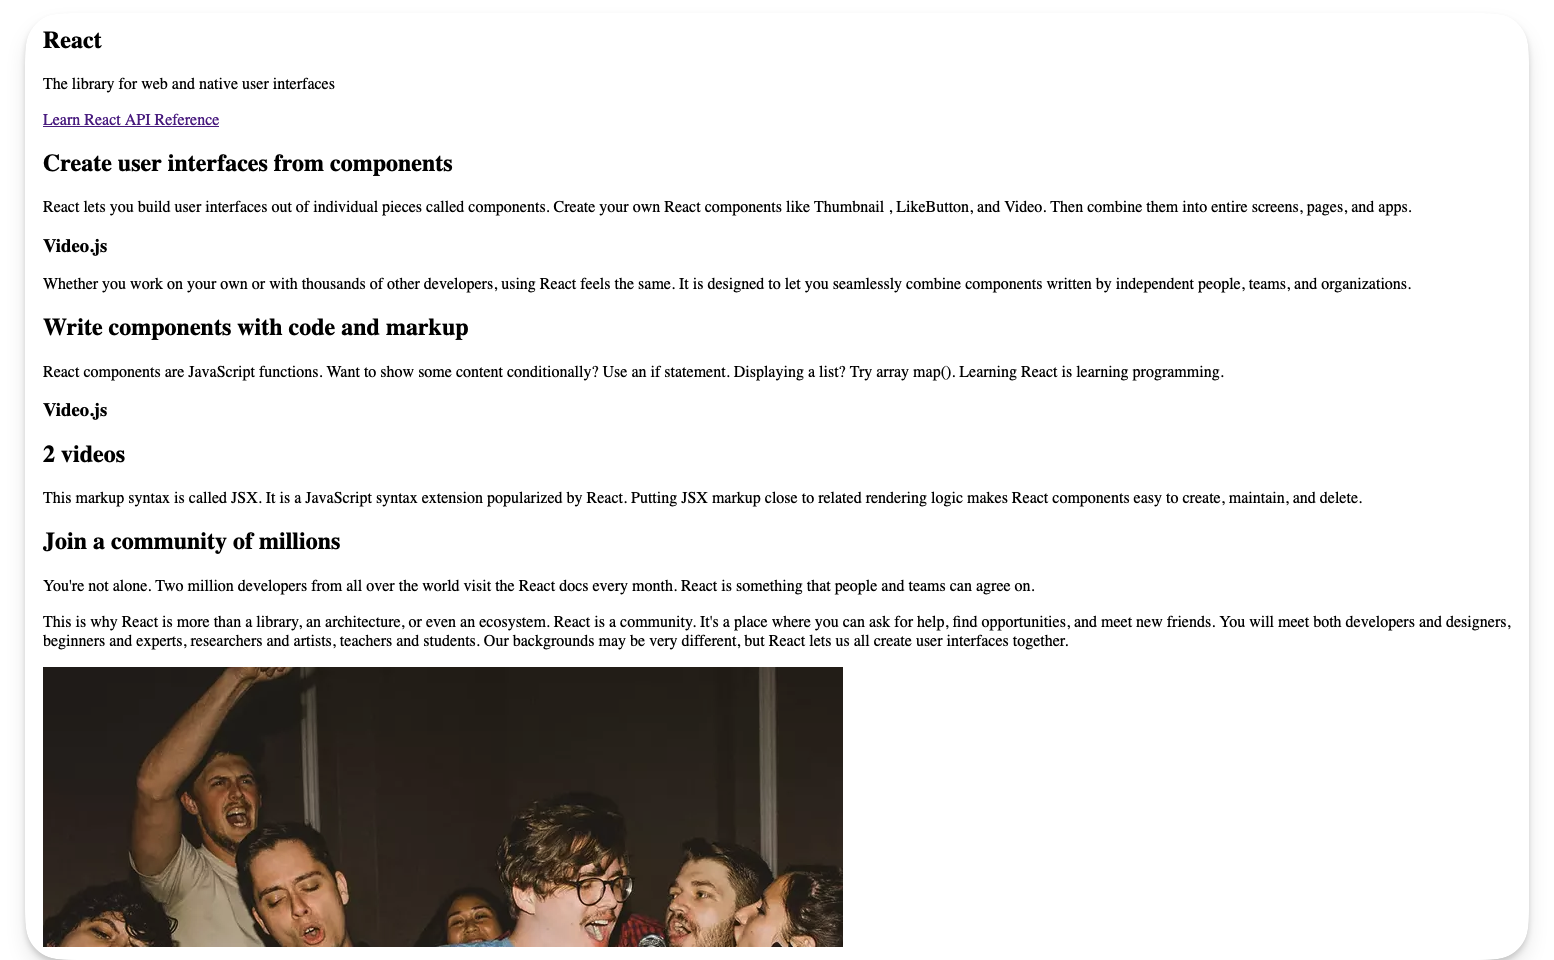
Visit the local server and you’ll find the base unstyled application running in the browser as shown below:
访问本地服务器,您会发现在浏览器中运行的基本无样式应用程序,如下所示:
The unstyled homepage. 无样式的主页。
I’ve got to say that’s one ugly-looking page.
我不得不说这是一个丑陋的页面。
We’ll fix that next.
我们下一个会解决的。
Styling Astro projects with Tailwind
使用Tailwind设计Astro项目
Love or hate it, CSS is how we make beautiful web applications.
不管你喜不喜欢,CSS是我们制作漂亮的Web应用程序的方式。
In Chapter One, we wrote the styles for the personal website by hand i.e., by writing out every CSS declaration, however, in this chapter, we will use a CSS framework called Tailwind.
在第一章中,我们手工编写了个人网站的样式,即,通过写出每一个CSS声明,然而,在本章中,我们将使用一个叫做Tailwind的CSS框架。
So, what’s Tailwind? 顺风是什么
An overly simple definition would be, Tailwind is the modern bootstrap. Never used Bootstrap? Then think of Tailwind as a utility-first CSS framework that provides class names like flex, text-lg, items-center and many more that you can apply to your markup for styles.
一个过于简单的定义是,顺风是现代的引导。从未使用过Bootstrap?然后将Tailwind视为一个实用程序优先的CSS框架,它提供了诸如 flex , text-lg , items-center 等类名,您可以将其应用于样式标记。
Tailwind will enable us to build modern-looking websites — fast.
Tailwind将使我们能够快速构建现代外观的网站。
Installing Tailwind 安装尾风
Keep the project running in your terminal and open another terminal tab. Run the following install command:
保持项目在终端中运行,并打开另一个终端选项卡。运行以下安装命令:
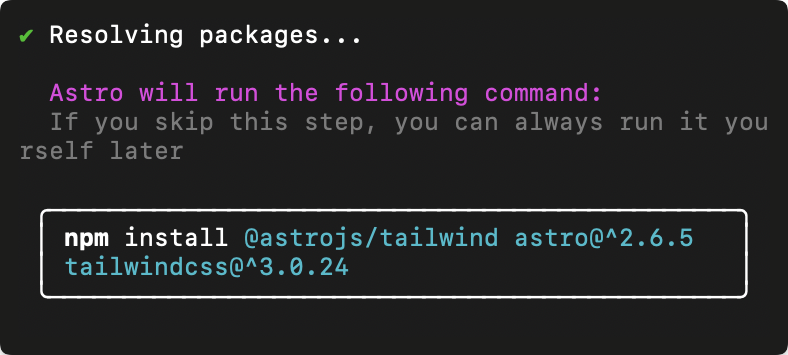
npx astro add tailwind
This will install the Astro tailwind integration in the project and update the project configuration.
这将在项目中安装Astro tailwind集成并更新项目配置。
Installing the Astro Tailwind integration.
安装Astro Tailwind集成。
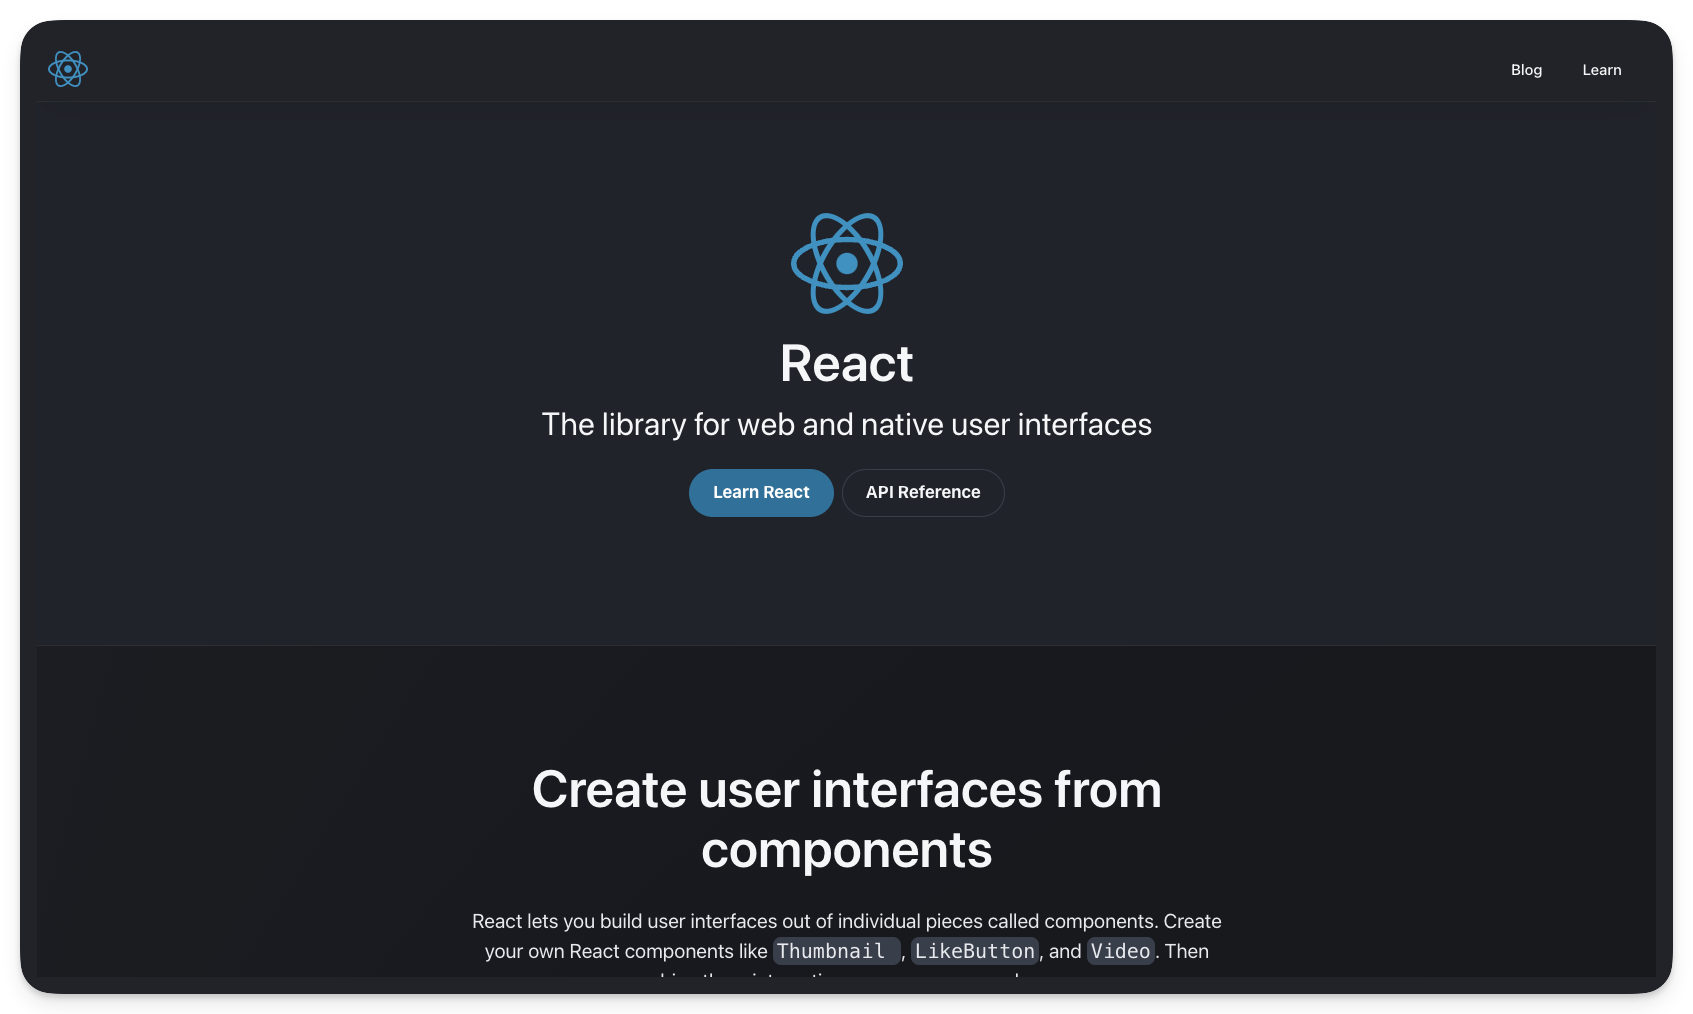
Once the installation is complete, the existing application styles will now take effect. Visit the application on your local port to see the styled application.
安装完成后,现有的应用程序样式现在将生效。访问本地端口上的应用程序以查看样式化的应用程序。
The styled application. 样式化的应用程序。
What a difference styling makes!
风格的不同!
Take your time and browse the different pages of the styled application.
慢慢浏览样式化应用程序的不同页面。
How does Tailwind work?
Tailwind是如何工作的?
Using Tailwind in Astro is straightforward. Install the Tailwind integration and provide a class attribute with Tailwind utility classes in your component markup.
在Astro中使用Tailwind很简单。安装Tailwind集成并在组件标记中提供带有Tailwind实用程序类的 class 属性。
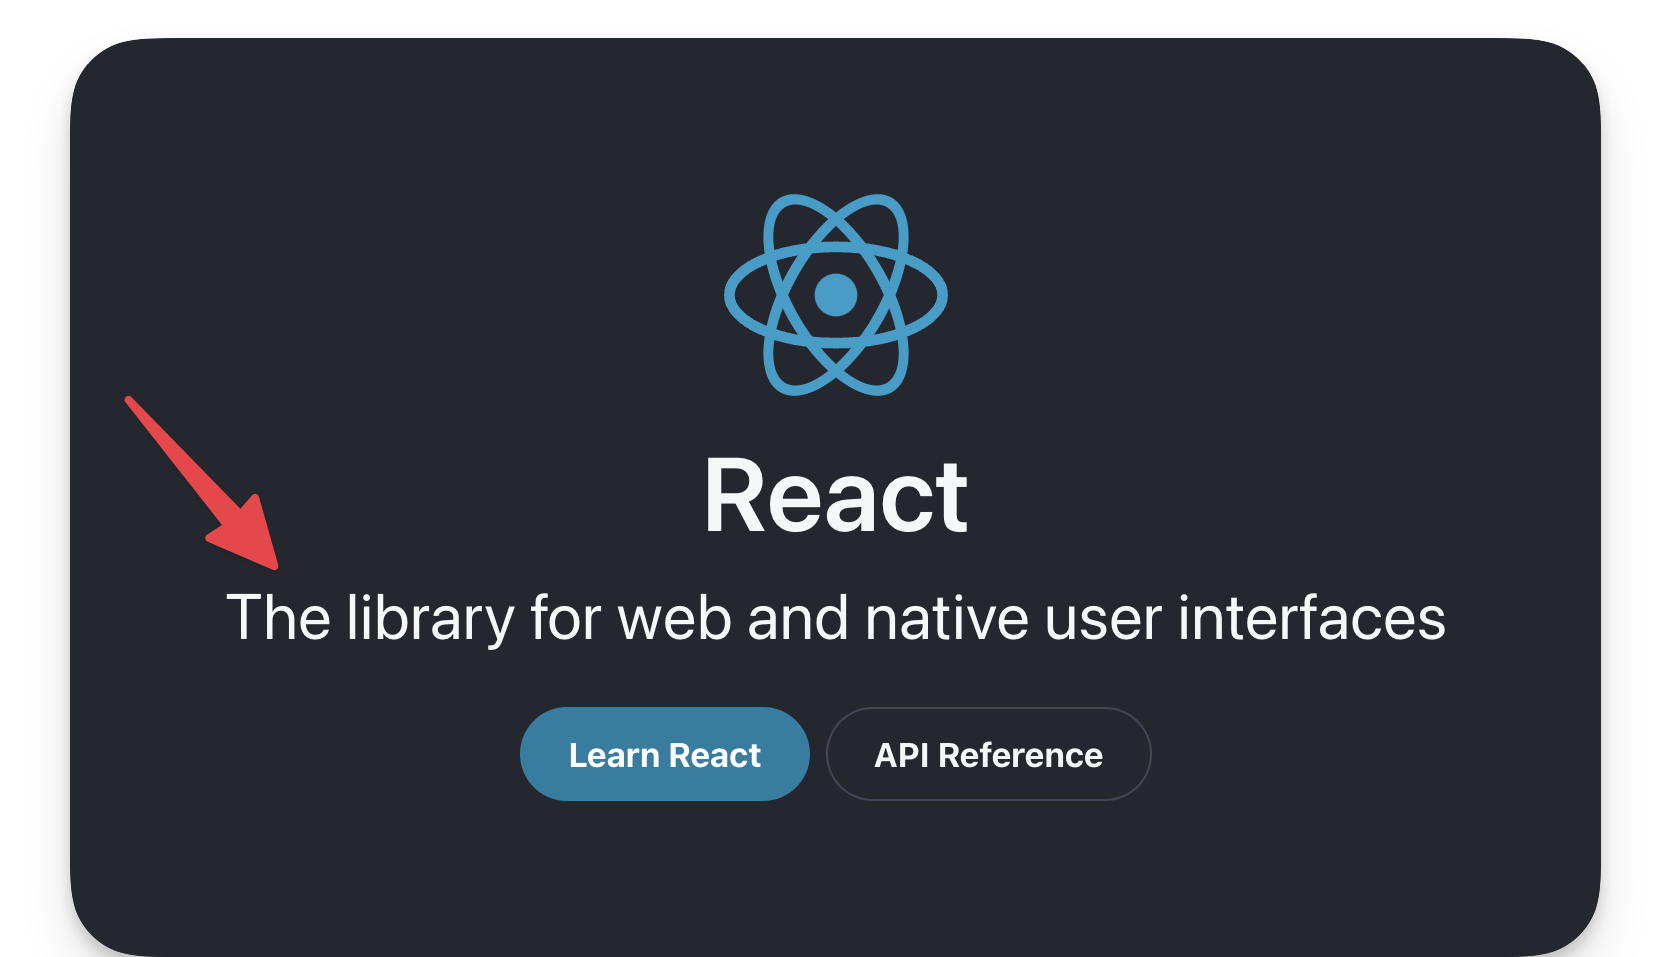
For example, consider the styled text “The library for web and native user interfaces” on the project homepage:
例如,考虑项目主页上的样式文本“The library for web and native user interfaces”:
The homepage subtitle. 主页字幕。
Now, consider the code responsible for the styles:
现在,考虑负责样式的代码:
// pages/index.astro // …
The library for web and native user interfaces
In the example above, the classes applied are as shown below:
在上面的例子中,应用的类如下所示:
“max-w-lg py-1 text-center font-display text-4xl leading-snug text-secondary dark
md”While this is not a Tailwind book, it’s only fair to give a general explanation of what’s going on here.
虽然这不是一本顺风的书,但对这里发生的事情给予一般性的解释是公平的。
Firstly, most Tailwind utility classes are well-named and you can infer what they do. Others might not.
首先,大多数Tailwind工具类都有很好的名称,您可以推断出它们的作用。其他人可能不会。
If you’re coding along in VSCode, I recommend installing the official Tailwind integration:
如果你在VSCode中编码,我建议你安装官方的Tailwind集成:
Installing the official VSCode Tailwind plugin.
安装官方VSCode Tailwind插件。
If you’re not using VSCode, consider finding your editor setup in the official Tailwind docs.
如果您没有使用VSCode,请考虑在官方Tailwind文档中查找编辑器设置。
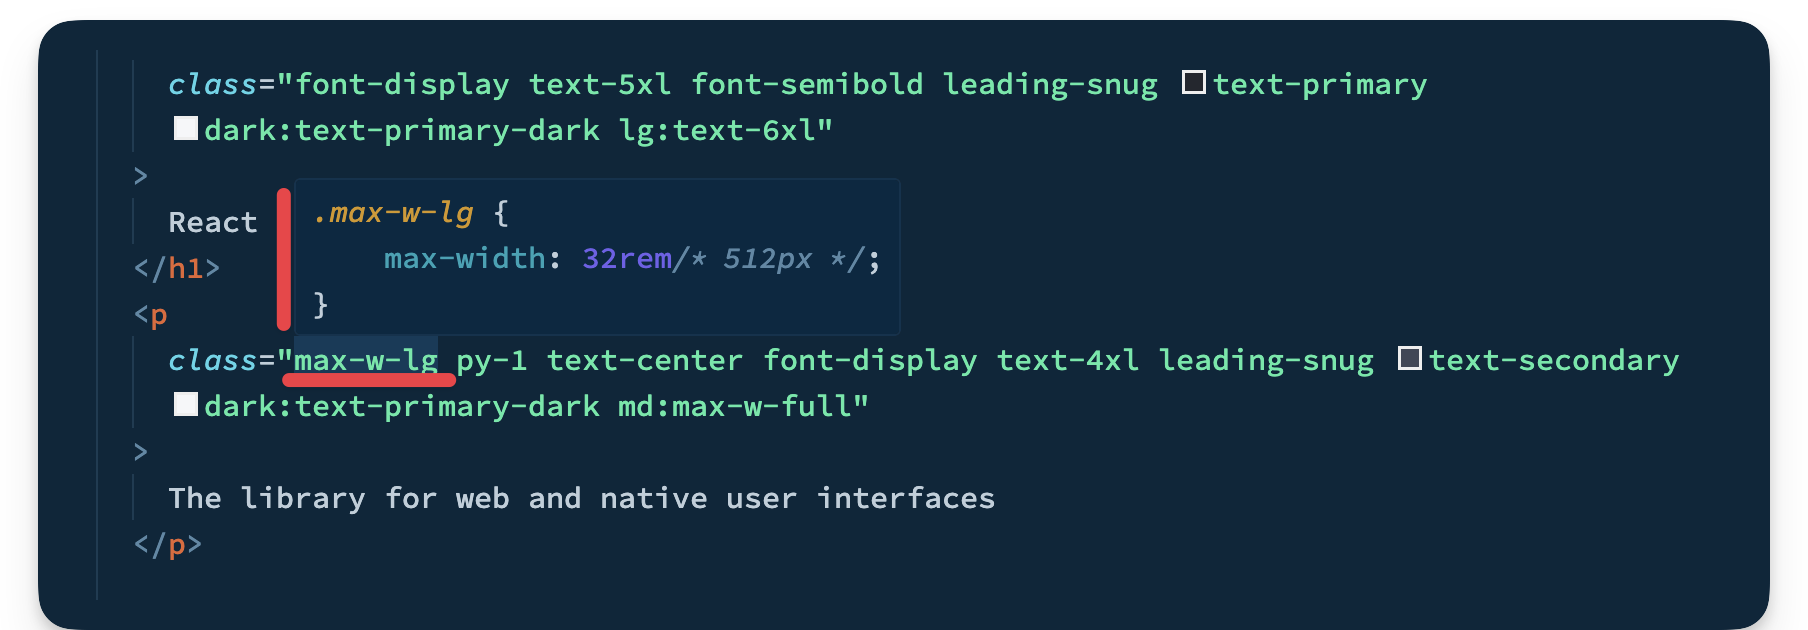
Installing the integration brings a lot of benefits. The important benefit I’d love to highlight here is you can hover over any of the Tailwind utility classes to see the exact CSS property value the class corresponds to.
安装集成带来了很多好处。我想在这里强调的重要好处是,您可以将鼠标悬停在任何Tailwind实用程序类上,以查看该类对应的确切CSS属性值。
For example, hovering over the max-w-lg displays the css property value for the utility class as shown below:
例如,将鼠标悬停在 max-w-lg 上会显示实用程序类的css属性值,如下所示:
.max-w-lg { max-width: 32rem /* 512px */; }
Hovering over Tailwind classes.
盘旋在顺风班上空。
This is very helpful because you can now inspect whatever classes are added to any markup in the project!
这是非常有帮助的,因为现在您可以检查项目中添加到任何标记中的任何类!
Tailwind configuration 顺风布局
Upon installing Tailwind, it ships with its default theme.
安装Tailwind后,它将附带默认主题。
It’s not a bad theme, however, when you build projects, you likely want control over the project theme.
这不是一个坏的主题,但是,当您构建项目时,您可能希望控制项目主题。
In our example, we want a theme that models the official React documentation theme.
在我们的示例中,我们需要一个模拟官方React文档主题的主题。
To customise Tailwind, we can provide a tailwind.config.js file where we can define our project’s fonts, colour palette, type scale, border radius values, breakpoints and much more.
要自定义Tailwind,我们可以提供一个 tailwind.config.js 文件,在其中我们可以定义项目的字体,调色板,类型比例,边界半径值,断点等等。
Look at the tailwind.config.cjs file in the project’s root. This is where the project’s tailwind configuration magic happens.
查看项目根目录中的 tailwind.config.cjs 文件。这就是项目顺风配置魔法发生的地方。
For more details on customising Tailwind, please consult the official documentation.
有关定制Tailwind的更多详细信息,请参阅官方文档。
Typescript import alias Typescript导入别名
Let’s be honest, no one likes those ugly relative imports, eh?
老实说,没有人喜欢那些丑陋的进口货,嗯?
import MyComponent from ’../../components/MyComponent.astro
Ugh!! 啊!
C’mon, we can do better.
来吧,我们可以做得更好。
This is where import aliases come in. The easiest way to get this set up in an Astro project is to define the aliases in the tsconfig.json file.
这就是导入别名的用武之地。在Astro项目中进行此设置的最简单方法是在 tsconfig.json 文件中定义别名。
For example, we may do the following:
例如,我们可以执行以下操作:
// 📂 tsconfig.json
{ “compilerOptions”: { “baseUrl”: ”.”, “paths”: { “@components/*”: [“src/components/*”], } } }
We’re essentially mapping any directories in the src/components import path to @components.
我们实际上是将 src/components 导入路径中的所有目录映射到 @components 。
Now, wait for it.
现在,等着瞧。
The result of this is we can take our previous ugly import path and turn it into a work of art as shown below:
这样做的结果是,我们可以采用之前丑陋的导入路径,并将其转化为艺术品,如下所示:
// Before import MyComponent from ’../../components/MyComponent.astro // After import MyComponent from ‘@components/MyComponent.astro’
Beautiful and clean, isn’t it?
又漂亮又干净,不是吗?
The reason I mention this is the starter project has been set up to use import aliases. So, don’t get confused.
我提到这一点的原因是启动器项目已经设置为使用导入别名。所以,别搞糊涂了。
Go ahead and look in the tsconfig.json file where you’ll find the following import aliases:
继续查看 tsconfig.json 文件,您将在其中找到以下导入别名:
“paths”: { “@components/*”: [“src/components/*”], “@layouts/*”: [“src/layouts/*”], “@utils/*”: [“src/utils/*”] }
You’re welcome 😉 不客气 😉
Islands & colocating page components
孤岛和共定位页面组件
We’ve learned that appropriate file types in the src/pages directory get transformed into HTML pages.
我们已经了解到 src/pages 目录中的适当文件类型会被转换为HTML页面。
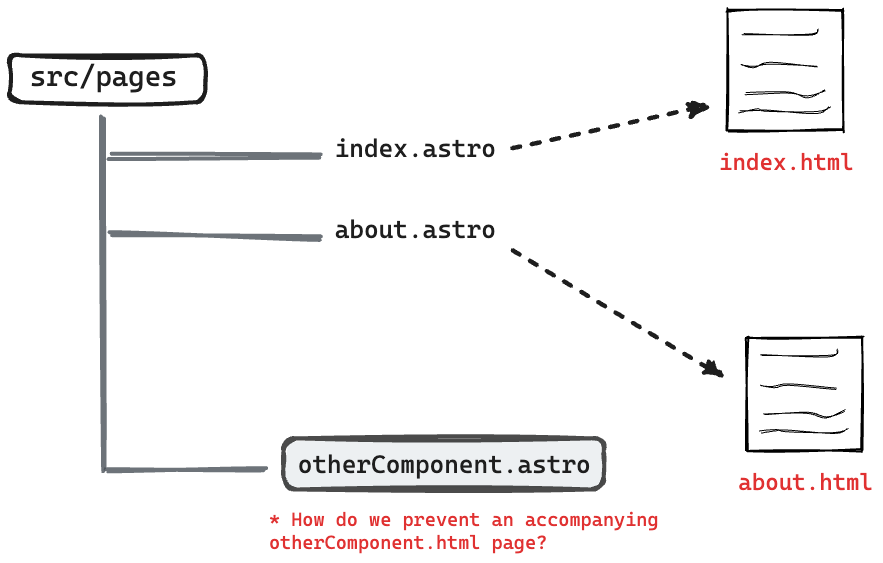
However, what if we need to have some files collocated in the src/pages directory without being transformed into accompanying HTML pages?
但是,如果我们需要将一些文件放在 src/pages 目录中,而不被转换为附带的 HTML 页面,该怎么办?
Colocating files in the pages directory.
在pages目录中共置文件。
This can be helpful for collocating tests, utilities and components along the associating pages.
这对于在关联页面中搭配测试、实用程序和组件很有帮助。
Well, there’s a solution for that.
有个解决办法
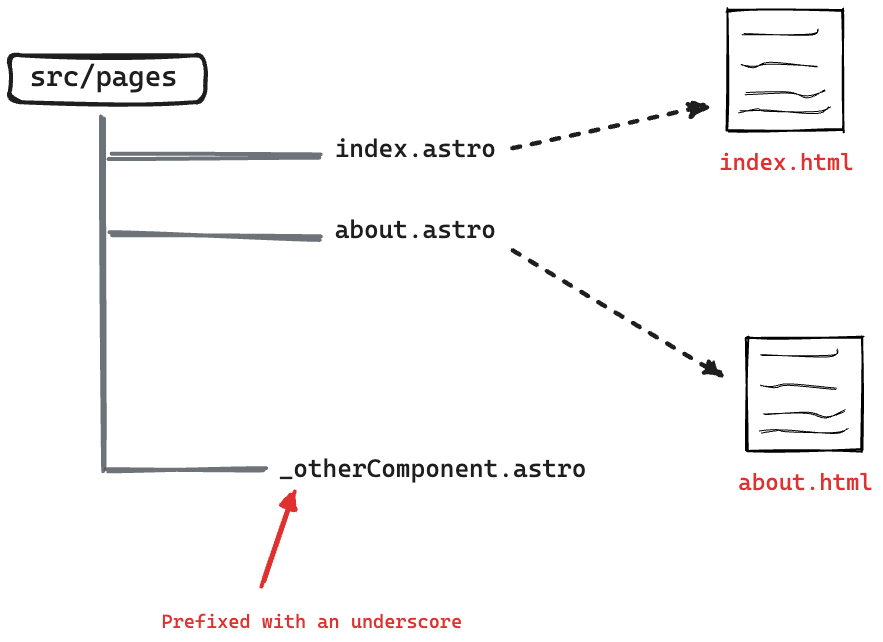
To exclude a valid page file type in the src/pages directory from being compiled into an associating HTML page, prefix the file name with an underscore _.
要排除 src/pages 目录中的有效页面文件类型,使其无法编译到关联的HTML页面中,请在文件名前面加上下划线 _ 。
Prefix file name with a underscore to not transform into HTML pages.
在文件名前面加上下划线,以避免转换为HTML页面。
For example, take a look at the pages/_components/Home directory in the project.
例如,查看项目中的 pages/_components/Home 目录。
This directory contains a handful of components that aren’t meant to be reusable across the project. They only exist to be used on the project’s homepage.
这个目录包含了一些不打算在整个项目中重用的组件。它们只存在于项目的主页上。
To exclude these from being separate browser pages, note how the _components directory is named.
要将这些页面从单独的浏览器页面中排除,请注意 _components 目录是如何命名的。
As an example, if you visited /_components/Home/Code in the browser, this will return a 404. Even though the Code components exist, it is not a page.
例如,如果您在浏览器中访问了 /_components/Home/Code ,则会返回 404 。虽然 Code 组件存在,但它不是一个页面。
Now, let’s bring our knowledge of collocated components and Astro islands together to solve our first TODO in the project.
现在,让我们将我们对配置组件和Astro岛的知识结合起来,来解决项目中的第一个TODO问题。
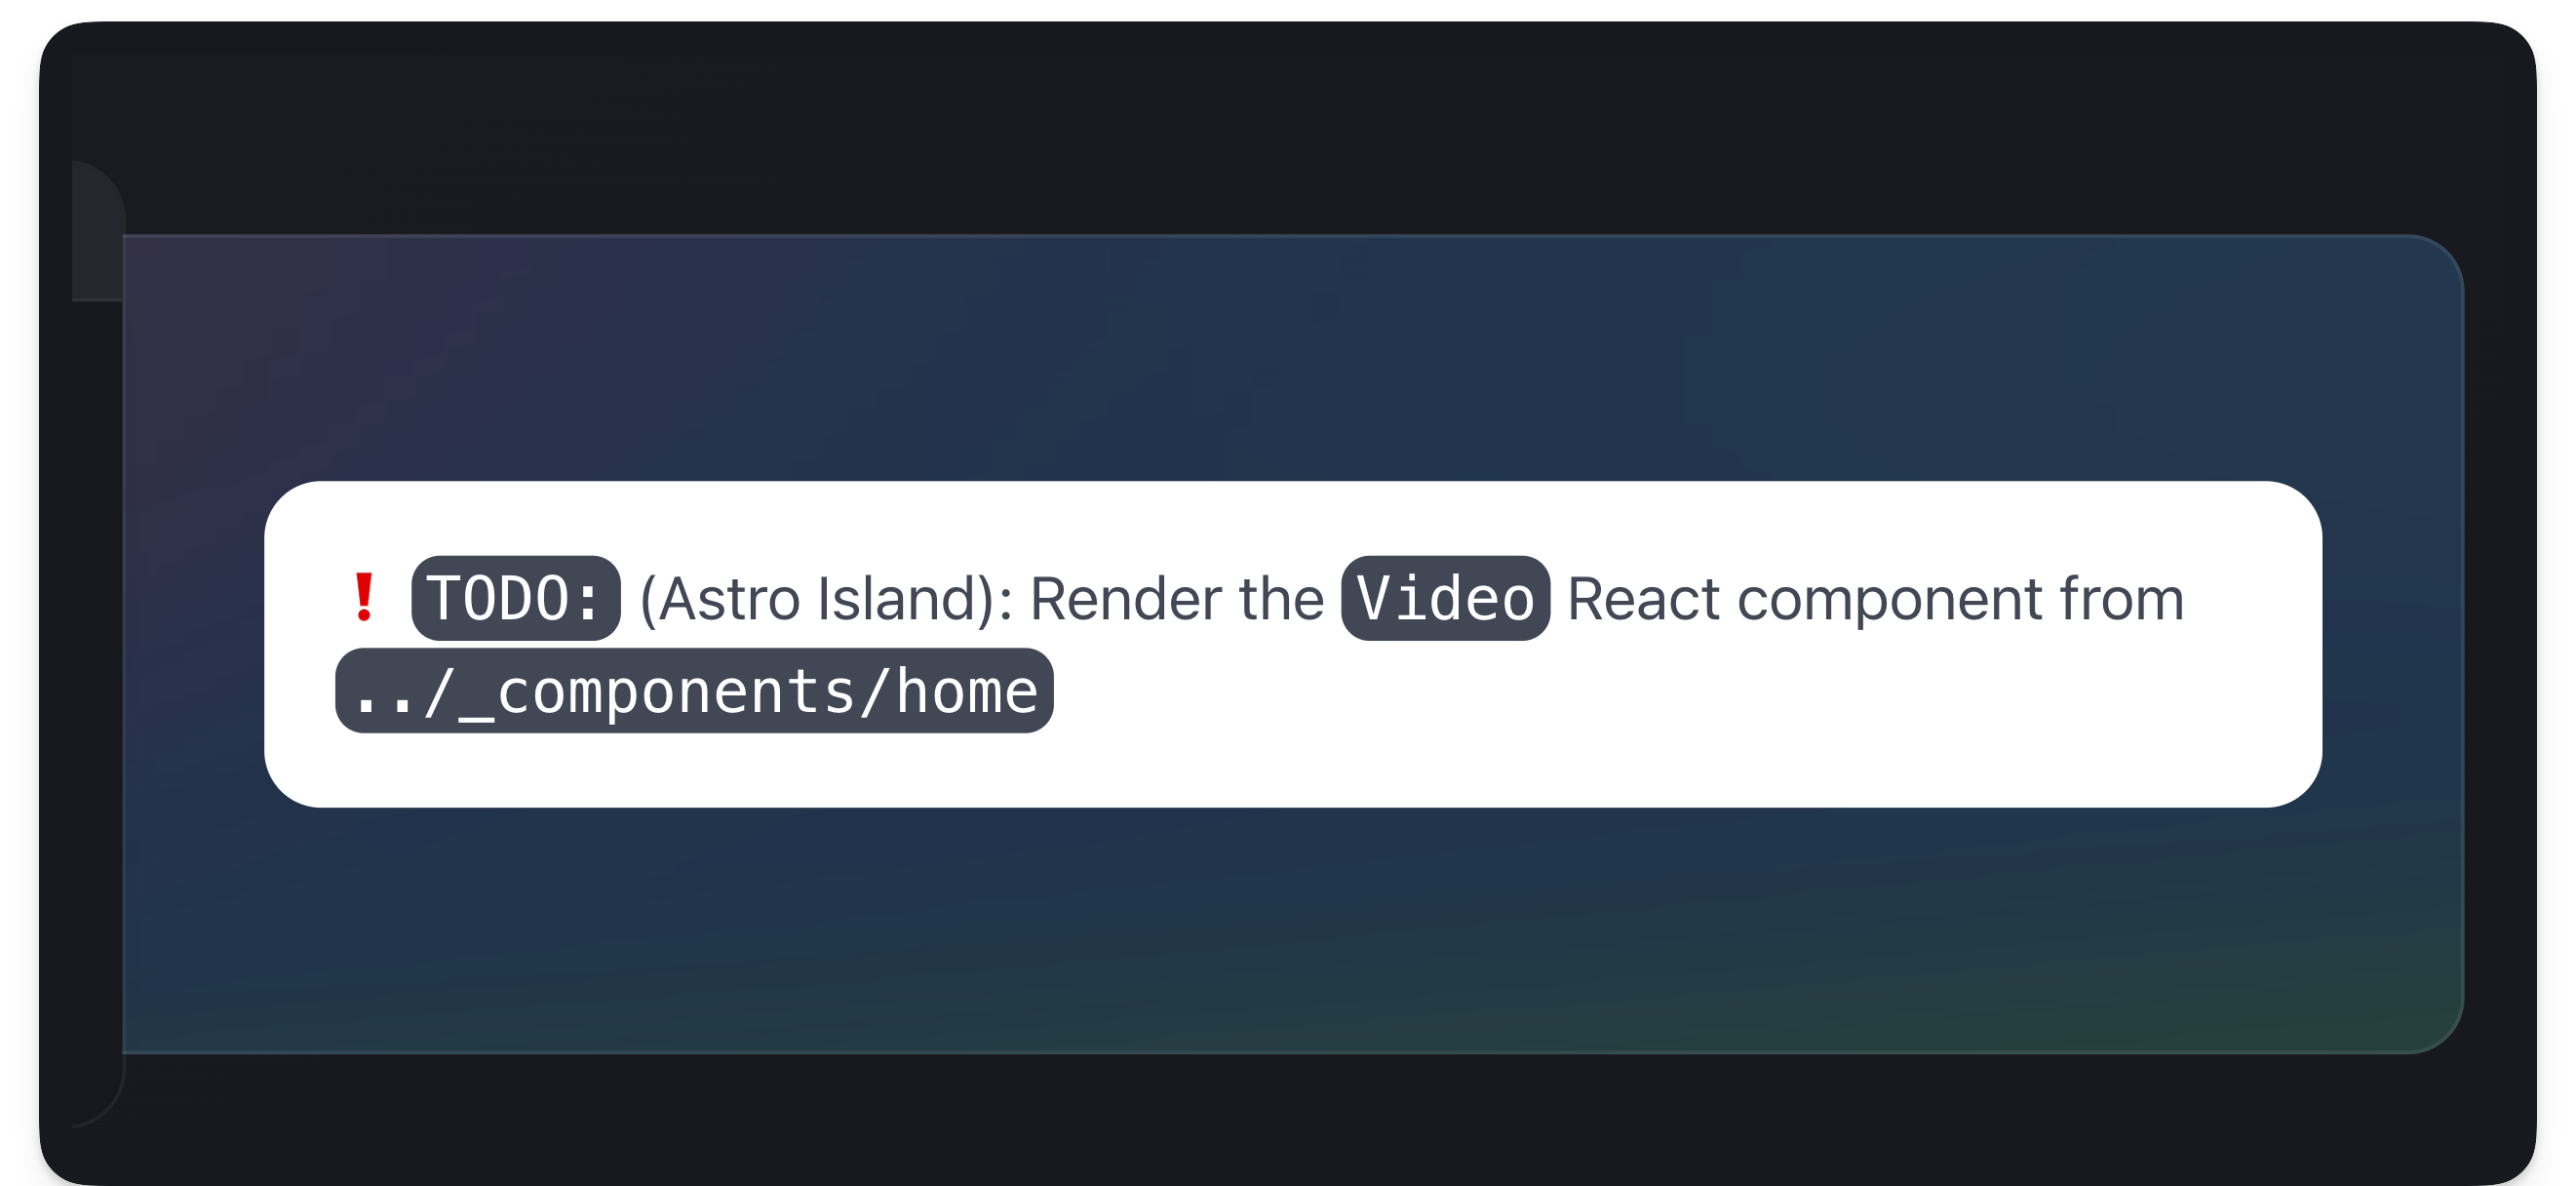
Take a look at the index.astro and consider the TODO to render the Video React component as shown below:
看一下 index.astro 并考虑 TODO 来渲染 Video React组件,如下所示:
// 📂 src/pages/index.astro ❗️ <Code class=“text-white”>TODO: (Astro Island): Render the …
TODO: Render the Video React component island.
TODO:渲染Video React组件岛。
Now consider the annotated solution below:
现在考虑下面带注释的解决方案:
// 📂 src/pages/index.astro === // Import the Video component from “_components …” import { Video } from “./_components/home/Video”; // … --- <ExampleResultPanel slot=“right-content”> {/** Render the Video component. NB: this is a React component **/} <Video client
{/** 👈 Add the client directive **/} video={{ title: “My video”, description: “Video description” }} /> </ExampleResultPanel>- Render the
VideoReact component
渲染VideoReact组件 - Pass a
client:visibleattribute to hydrate the island as soon as the component is visible
传递一个client:visible属性,以便在组件可见时立即对岛进行水合 - Finally pass the required
videoobject props to theVideocomponent:{title: "my video", description: "Video description"}.
最后将所需的video对象props传递给Video组件:{title: "my video", description: "Video description"}。
The rendered video island.
渲染的视频岛。
Similarly, let’s resolve the second TODO. This time around we’ll render multiple Video components.
同样,让我们解决第二个TODO。这次我们将渲染多个 Video 组件。
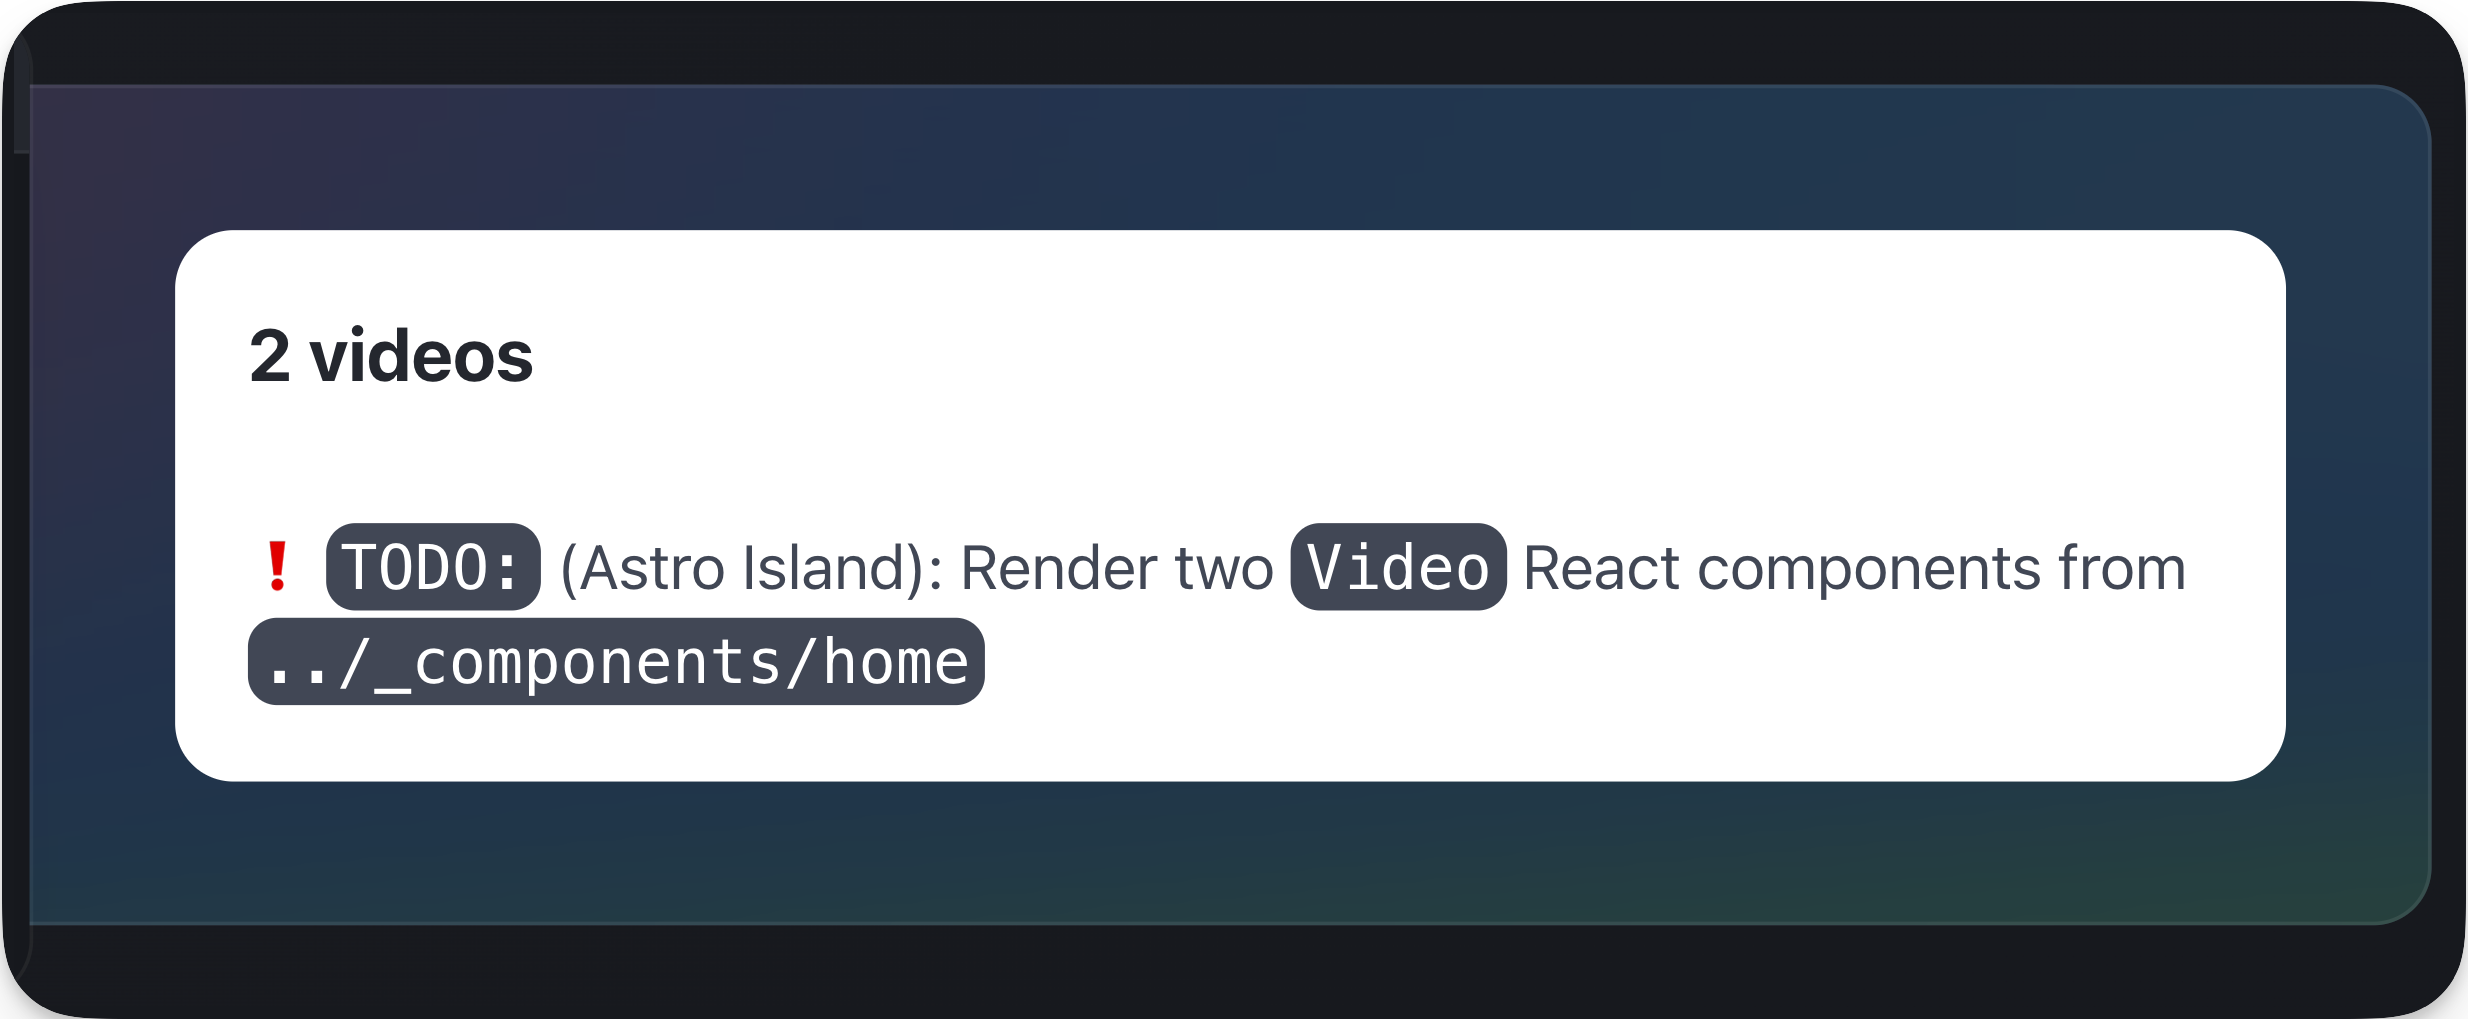
// 📂 src/pages/index.astro ❗️ <Code class=“text-white”>TODO: (Astro Island): Render two …
TODO: Render two React component islands.
TODO:渲染两个React组件岛。
Consider the solution below:
考虑下面的解决方案:
<ExampleResultPanel slot=“right-content”>


